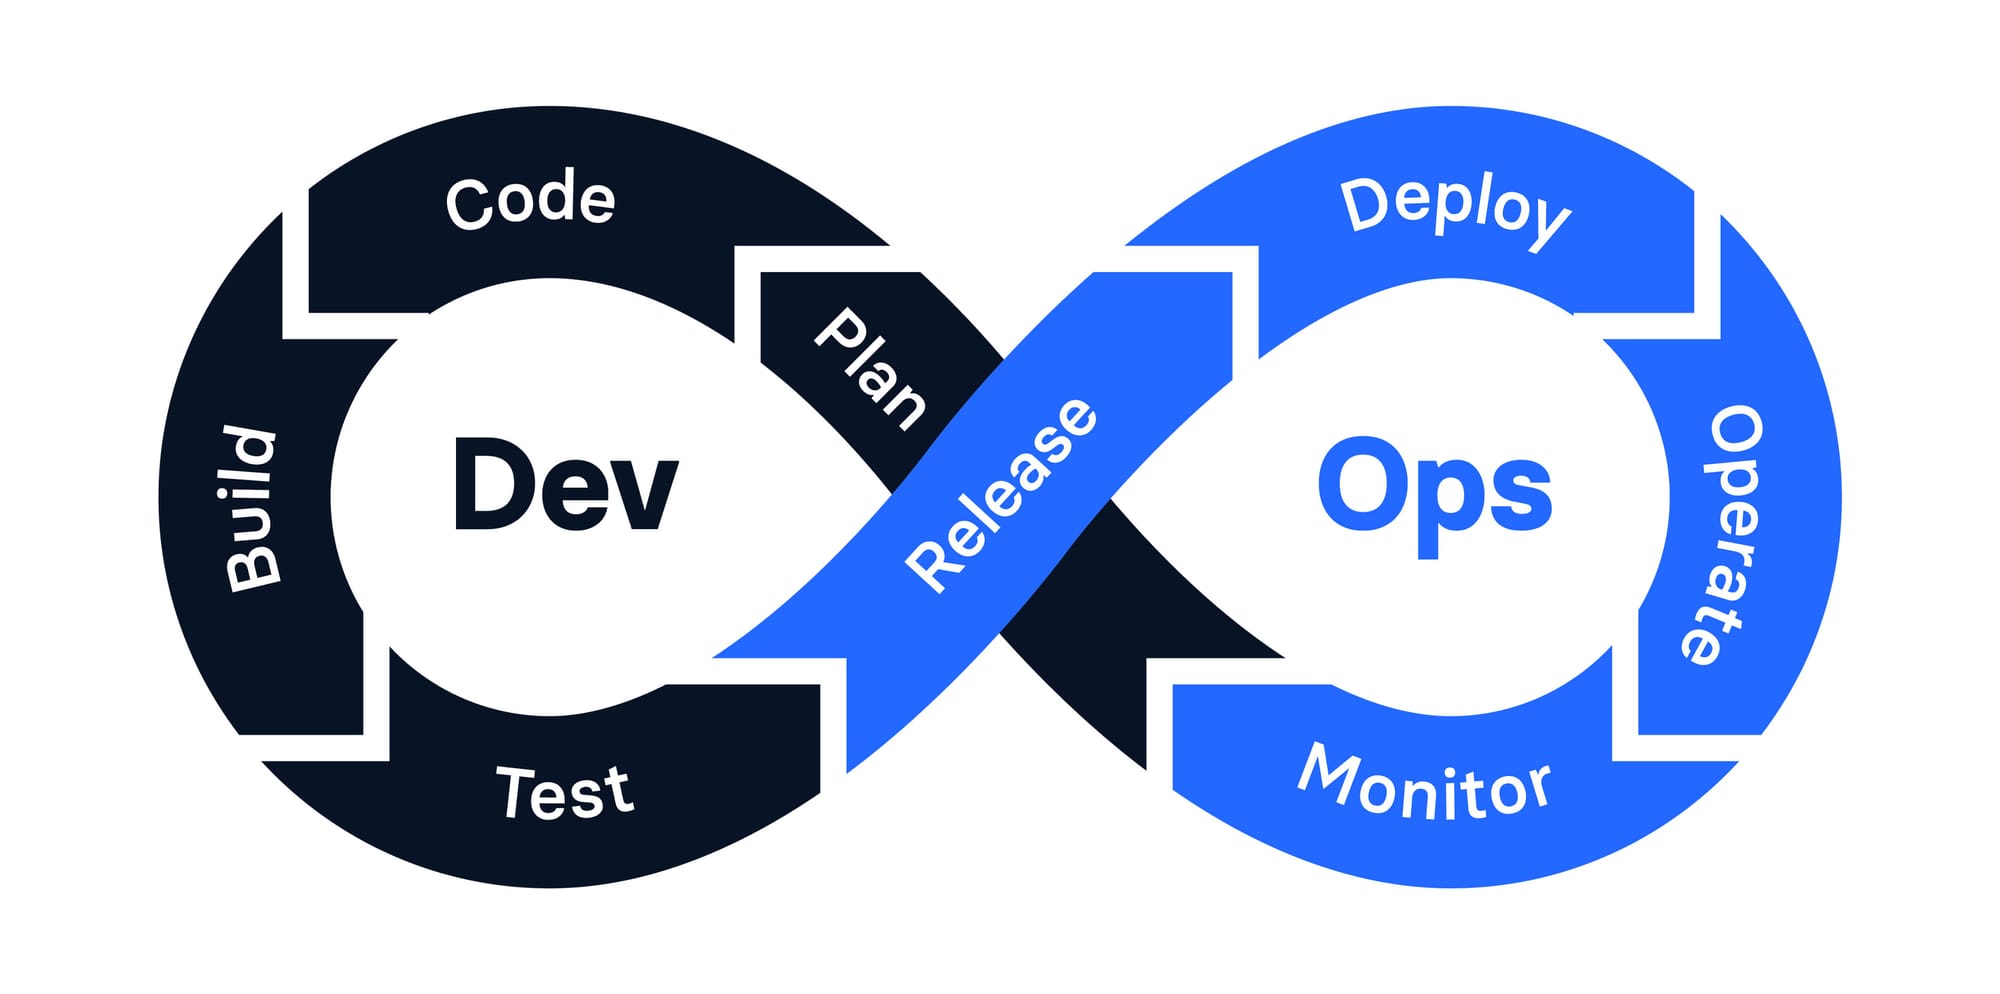
Continuous Integration and Deployment in Modern Software Development

Are you considering implementing a continuous integration and deployment practice in your software development workflow? It’s definitely something to consider! With modern technology, it’s easier than ever to integrate an automated system that can take care of a lot of the tedious manual labor. Using continuous integration (CI) and deployment (CD) techniques can help streamline workflows and free up valuable developer time. In this blog post, we’ll discuss the benefits of CI/CD for modern software development and provide insight into why it should be used as part of every project. In this blog post, we’ll discuss why CI/CD is important, its advantages over manual processes, and how you can implement it in GitLab in your own projects.
What is Continuous Integration and Deployment?
Creating software quickly and reliably is a priority for many teams. To help them out, Continuous Integration (CI) and Continuous Deployment (CD) provide the perfect answer!
With CI, developers can integrate code changes into a shared repository more often — usually several times per day. This helps catch issues early on when knocking down tasks to smaller chunks instead of tackling big complex ones at once. Plus it also allows easy collaboration as everyone working together will be able to view each other’s progress in real-time!
For deploying code faster? That’s where CD comes in handy: automatically pushing new features and bug fixes directly into production environments whenever they pass through the CI process — no manual intervention needed!
The Benefits of Continuous Integration and Deployment
There are several benefits to using CI and CD in software development. These include:
- Faster time to market: By integrating and deploying code changes more frequently, teams can get new features and bug fixes to users faster.
- Improved code quality: By integrating code changes frequently, developers can catch issues early on, when they are easier to fix. This helps teams deliver higher-quality software.
- Reduced risk of errors: By automating the deployment process, teams can reduce the risk of errors that can occur when deploying code manually.
- Easier collaboration: CI allows developers to see each other’s code changes in real-time, which makes it easier for them to collaborate and review code.
- Increased efficiency: By automating the deployment process, teams can save time and effort that would otherwise be spent on manual deployment tasks.
Implementing Continuous Integration and Deployment
There are several tools and approaches that teams can use to implement CI and CD. These include:
- Version control systems: Version control systems like Git allow developers to track code changes and merge them into a shared repository.
- CI/CD tools: There are many tools available that can help teams automate the CI and CD process, such as Jenkins, Travis CI, and CircleCI.
- Automated testing: Automated testing is an important part of the CI and CD process, as it helps teams ensure that code changes do not introduce new issues.
- Deployment pipelines: Deployment pipelines are a series of automated steps that code changes go through as they are integrated and deployed. These steps might include testing, quality assurance, and release management.
By implementing CI and CD practices, teams can deliver high-quality software more quickly and reliably, improving efficiency and reducing the risk of errors.
Here is an example of how to create a CI/CD pipeline in GitLab using a .gitlab-ci.yml file with steps:
- First, create a new project in GitLab and push your code to the repository.
- In the root directory of your repository, create a file named
.gitlab-ci.yml. This file will define the steps of your CI/CD pipeline. - In the
.gitlab-ci.ymlfile, define the jobs that should be included in the pipeline. Each job is defined by a block of code that starts with the name of the job. Bellow is an example of a CI/CD pipeline for a simple Node.js application. This pipeline has three stages: build, test, and deploy: - Create the
.gitlab-ci.ymlfile with the content shown above and commit it to the repository. - Push the commit to GitLab. GitLab will automatically detect the
.gitlab-ci.ymlfile and create a pipeline for your project. - GitLab will automatically run the pipeline and execute the steps defined in each stage. You can see the progress and the results of the pipeline in the GitLab UI.
- Optionally, you can also define variables that can be used in the pipeline, such as environment variables or passwords. These variables are defined at the top of the
.gitlab-ci.yml.
Note that this is just a basic example of how to create a CI/CD pipeline in GitLab. There are many more advanced options and customization possibilities available.
# .gitlab-ci.yml

stages:
  - build
  - test
  - deploy

build:
  stage: build
  script:
    - npm install

test:
  stage: test
  script:
    - npm test

deploy:
  stage: deploy
  script:
    - npm run build
    - rsync -av --delete build/ user@server:/var/www/app
  variables:
    ENVIRONMENT: production
    API_KEY: secret
Congratulations! With this .gitlab-ci.yml file, you can now sit back and relax knowing GitLab will take charge of automating your Node.js application every time a commit is pushed to the repository — from building it up all the way through deploying it for everyone else to enjoy! And if that’s not enough, feel free to customize away with whatever stages or steps suit your fancy — mix in some other techs and tools too while we’re at it!

